
World & campaign GAME WIKI
Campaign dive guide
A guide to all 15 campaign dives, their briefing locations and the preparation that helps you complete each objective.
Story spoilers aheadThis guide reveals campaign locations and story details. Select to reveal the guide.
How the Campaign progresses #
The Campaign follows 15 dives. Each briefing points you toward a location or investigation, and the Objectives panel tells you what to complete.
Use quiet moments to explore, gather supplies and collect treasure. Later dives revisit familiar areas under different conditions, so keep listening to the new briefing.
The location descriptions below summarise the radio briefings. Use your in-game objectives and HUD markers for the current task.
Dives 1–5: learn the waters #
| Dive | Briefing location and focus | Preparation |
|---|---|---|
| 1 | Investigate the wreck of the Odyssey fishing boat and find the three nearby treasure chests. | Learn the supply location and collect the contents of the chests. |
| 2 | Explore outside the caverns beneath Diablos Reef. | Avoid getting lost deep inside the caves; supplies are near the oxygen zone. |
| 3 | Investigate the large reading near the old plane wreck. | Keep your oxygen route in mind while inspecting the area. |
| 4 | Return to the area from the previous dive and investigate abandoned containers. | Search for valuables and listen for the developing threat. |
| 5 | Head toward the base of the oil rig after a massive contact is detected. | Follow the radio’s instructions and stay close to the rig. |
Dives 6–10: follow the disturbance #
| Dive | Briefing location and focus | Preparation |
|---|---|---|
| 6 | Head toward Diablos Reef to observe sea life while the team examines the earlier footage. | Use the good visibility to learn the surroundings. |
| 7 | Explore the caves beneath Diablos Reef at night. | Remember the exit and the oxygen placed outside the caves. |
| 8 | Investigate an unexplored seabed area linked to electromagnetic surges. | Follow the new search area rather than retracing the previous dive. |
| 9 | Inspect a whale carcass and a suspected hunting ground. | Find the oxygen near the carcass and keep watching the open water. |
| 10 | Search for ancient ruins and possible treasure. | Locate the oxygen and gear placed near the reported site. |
Dives 11–15: uncover Death’s lair #
| Dive | Briefing location and focus | Preparation |
|---|---|---|
| 11 | Return to the dive zone to investigate sirens and their connection to the Kraken. | Find enough ammunition before another encounter. |
| 12 | Move toward a new zone with considerable creature activity. | Follow the briefing’s advice to approach slowly and avoid unnecessary engagements. |
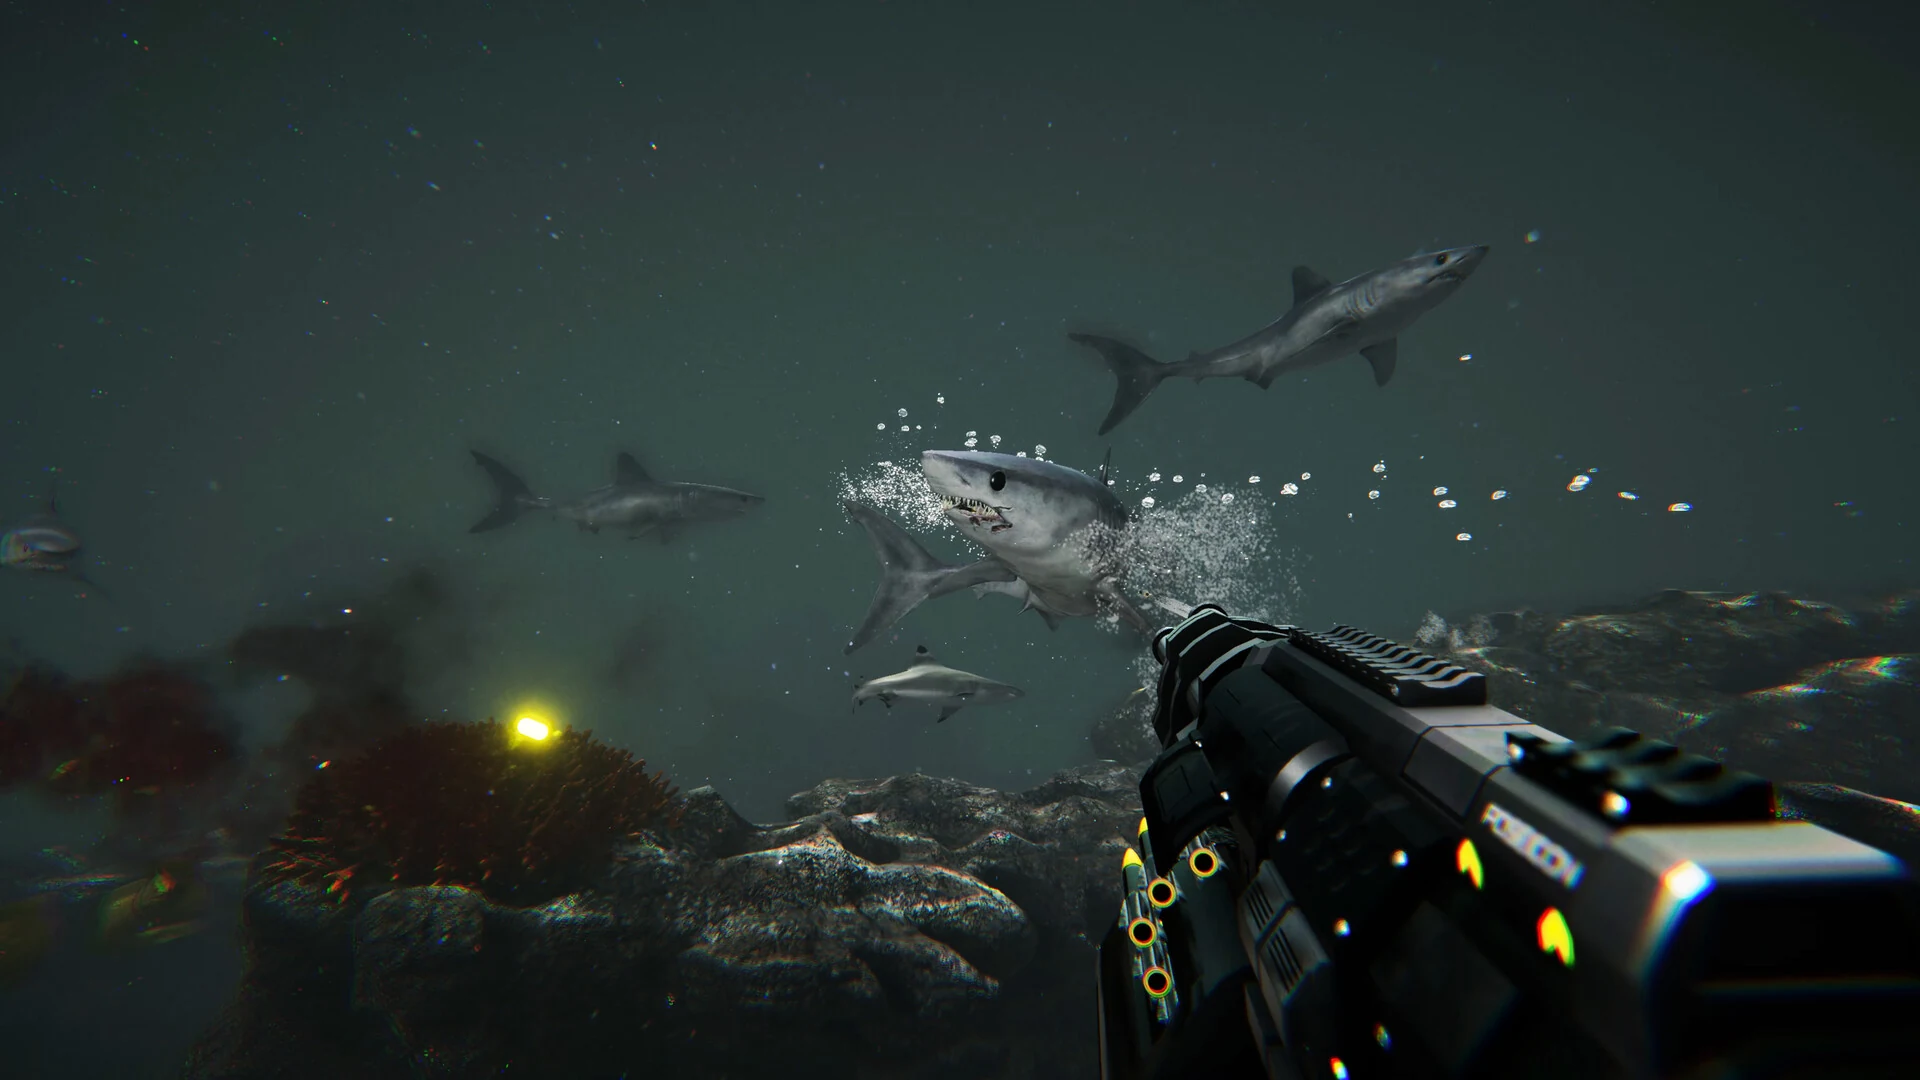
| 13 | An aggressive school of sharks is heading toward you near the old plane wreck. | Move toward the wreck, oxygen and extra ammunition described in the briefing. |
| 14 | Search a chamber beneath the sunken city for a map to Death’s lair. | Investigate the chamber and follow the map objective. |
| 15 | Travel through open water to Death’s stronghold for the final confrontation. | Use the supplied oxygen and ammunition and prepare your unlocked arsenal. |
Revisiting completed dives #
The dive selection menu lets you choose from completed dives. Completing the game also unlocks New Game Plus, which allows a new run from an unlocked dive.
Before replaying, check the selected dive and your equipment options so you enter with the loadout you intend to use.